CBus MQTT Bridge on Raspberry PI
Turn back to 2007; My wife and I built our home, integrating many smart technologies, including the Clipsal CBus lighting system. This solution is classified as a Prosumer technology, and is designed to integrate into whole house automation systems.
The CBus system implements however a proprietary technology, and utilizes a communication protocol which is not ‘open source’; however, accepting a license agreement will permit access to this protocol for creating an programming interface.
To simplify (arguable) the process of integrating with the CBus environment Clipsal released a Bridge solution which enables a TCP interface using a special Java application called ‘C-GATE’.
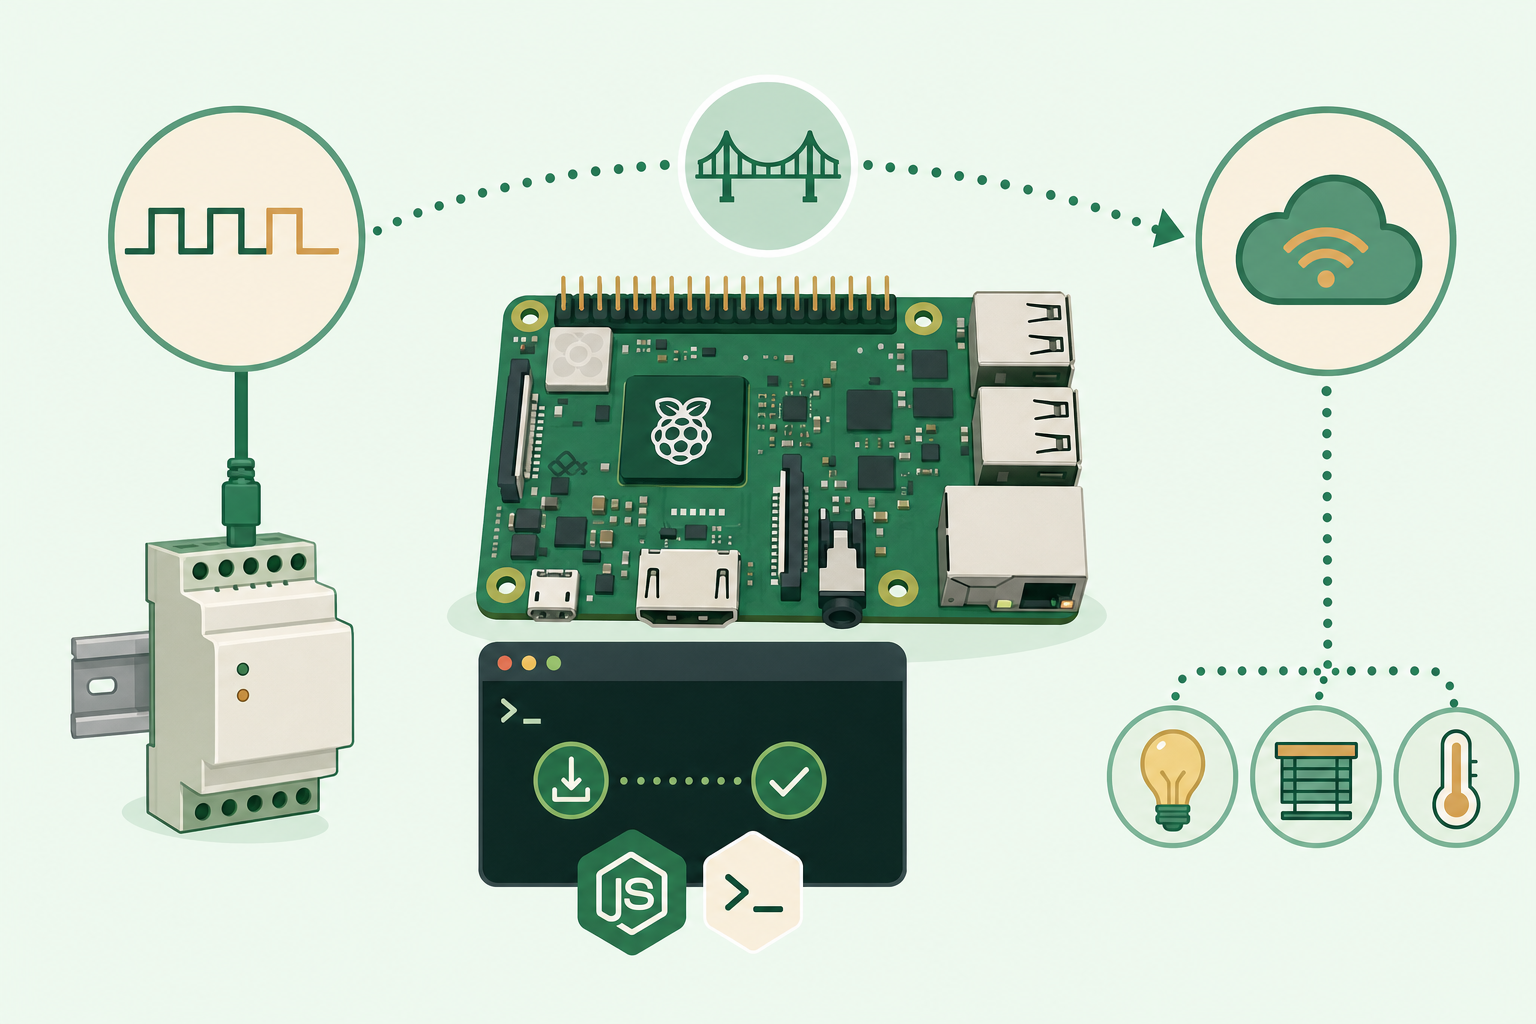
Using a Raspberry Pi, with a USB to RS-232 cable, which is then connected to a Clipsal interface called the Serial PCI Module,
Prerequisites
Deploy the current release of Rasbian for your Pi.
Update: Jan 2021 - Currently using Rasbian 2021-01-11
Once the Pi have been configured and added to the network, we can connect via SSH, and begin installing the pre-requisites for our gateway.
bash ShowHide 6 lines
# Serial 2 Socket Build Tools
sudo apt-get install git build-essential autotools-dev devscripts libssl-dev
# Java 8 Runtime for CGate
sudo apt-get installopenjdk-8-jdk
# Node and NPM for CGateWeb
sudo apt-get installnode npm
TCP to Serial Bridge
Configuring the CBus system over TCP however will not work with just C-Gate alone, we need to also establish a TCP connection directly to the Serial PCI Module.
Serial To Socket
This requires that we compile and run a small C application (Don’t worry, this is painless and fast); It took a lot of searching to find, posted the source to the following GIT repository; the application is called ser2sock.
Here’s the steps to get it set up:
bash ShowHide 9 lines
git clone https://github.com/nutechsoftware/ser2sock.git
cd ser2sock

./configure --without-ssl
cc -o ser2sock ser2sock.c

sudo mv ser2sock /usr/local/bin
cd /usr/local/bin/ser2sock
sudo chown -R pi:pi /usr/local/bin/ser2sock
Running as a service - System.d
The source offers us a sample init script which we can use for starting the service. First we will place this in the SystemD folder, and then update it to match our requirements for C-Gate
bash ShowHide 1 line
sudo cp ~/ser2sock/init/systemd/ser2sock.service /etc/systemd/systemUpdate the startup script, /etc/systemd/system/ser2sock.service to have the daemon auto-start with the required C-Gate port, which is TCP 10001, and the serial interface baud rate set to 9600.
bash ShowHide 11 lines
[Unit]
Description=Proxy that allows tcp connections to serial ports
After=syslog.target network.target

[Service]
Type=forking
ExecStart=/usr/local/bin/ser2sock -p 10001 -s /dev/ttyUSB0 -b 9600 -d
ExecReload=/bin/kill -HUP $MAINPID

[Install]
WantedBy=multi-user.target
Then activate using:
bash ShowHide 2 lines
sudo systemctl enable ser2sock.service
sudo systemctl start ser2sock.service
Installing C-Gate
Download the current software release of C-Gate off the clipsal website and unzipped the files into /usr/local/bin/cgate.
bash ShowHide 4 lines
cd ~
wget https://updates.clipsal.com/ClipsalSoftwareDownload/mainsite/cis/technical/CGate/cgate-2.11.4_3251.zip
unzip cgate-*.zip
sudo mv cgate /usr/local/bin
Running C-Gate as Service - System.d
Adding the following ‘system.d’ startup script, to have the daemon auto-start with the operating system /etc/systemd/system/cgate.service
bash ShowHide 14 lines
[Unit]
Description=Clipsal CBUS Gateway
After=syslog.target network.target

[Service]
ExecStart=/usr/bin/java -Djava.awt.headless=true -jar -noverify /usr/local/bin/cgate/cgate.jar
Restart=always
User=root
Group=root
Environment=PATH=/usr/bin:/usr/local/bin
WorkingDirectory=/usr/local/bin/cgate/

[Install]
WantedBy=multi-user.target
Then activate using
bash ShowHide 2 lines
sudo systemctl enable cgate.service
sudo systemctl start cgate.service
C-Gate Access Control
We must configure the C-Gate service to allow remote connections from machines on the network by editing the access control file nano /usr/local/bin/cgate/config/access.txt; adding a line, providing the ip address of the remote system. In the example I am allowing the network 172.16.0.0/23 or the IP’s in the range of 172.16.0.0 to 172.16.255.255
bash ShowHide 1 line
echo "remote 172.16.255.255 Program" >> /usr/local/bin/cgate/config/access.txSave, then restart cgate:
bash ShowHide 1 line
sudo systemctl restart cgate.serviceC-Gate Auto-Connect
Edit the file /usr/local/bin/cgate/config/C-gateConfig.txt. Set the project.default and project.start lines to the name of the C-Gate Project.
If you do not know your project name, you can interact with C-Gate over telnet
bash ShowHide 3 lines
telnet 127.0.0.1 20023

> project list
In my environment, my project is called home
CGate MQTT
MQTT interface for CBus lighting written in Node.js
bash ShowHide 5 lines
cd /usr/local/bin
sudo git clone https://github.com/the1laz/cgateweb.git
cd cgateweb
npm install
sudo nano settings.js
Put in your settings.
bash ShowHide 3 lines
sudo cp cgateweb.service /etc/systemd/system
sudo systemctl enable cgateweb
sudo systemctl start cgateweb
At this point, you should start seeing your MQTT Service update with CBus Lighting application status.
Part of: damianflynn